Corkboard Project 5
Originally uploaded by gemgirlart
And yes this is my first blog post of 2010, so Happy New Year as well!
(I'm so lame. and full of shame. and take the blame!)
Anyway I worked on this lil project last month and wanted to quickly share it with you ...
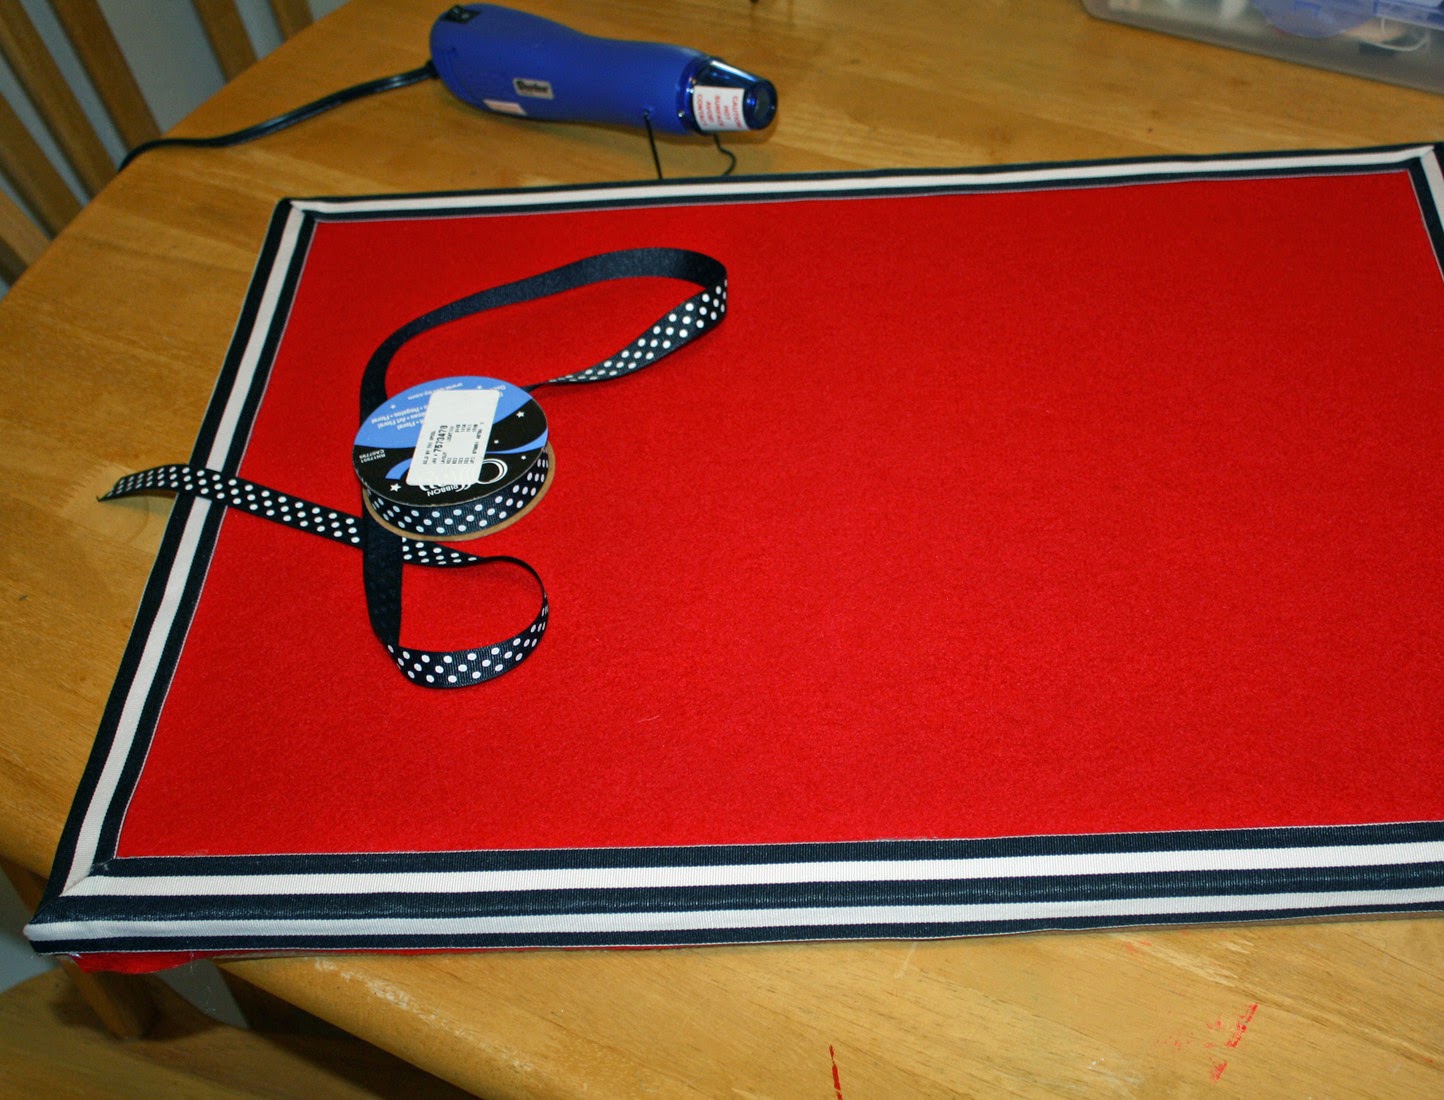
I had an inspiration board hanging over my sewing area - only it wasn'y very inspiring. Plain 'ol wooden framed, cheap mass market cork message board - nice size but corkboards always piss me off due to the fact theres hardly any cork on em! it's like a millimeter thick layer then ya hit particleboard - bah! altogether maddening. I also tried those "cork only" squares that supposedly you can attach right to the wall with doublestick tape? Uh, no. ya can't. I hate that stuff, anyhow, but it was a nice thicker piece of cork, SO! one day I decided 'Hay! Why don't you combine the two?" - and here is what I did:
1) Since the original board was rectangular and the cork squares were, well - square - I had to cut them to fit. Ruler & craft / utility knife were a must!
2) Since I'd be cutting and attaching the cork squares to the wooden framed board and there'd be a buncha ugly seams leftover, I decided I'd also go ahead and cover it with fabric and edge it with ribbon, too. This would also make it way easier to reattach my button collection to the outer edges of the board (through the fabric ribbon instedda into the cork - brilliant!)
3) I went with a nice piece of better quality red felt for the backing and I have this FAB wide roll of B&W striped fabric ribbon to use for the edges, and decided to also add a second coordinating ribbon (B&W polka dots, narrower width)
4) Used plain ol hotglue to attach everything as it was really the easiest, most secure way - plus I'm super impatient, so - yeah. Cut & glued the cork pieces onto the board, within the framed edges - and cut my red felt large enough so that it would wrap just around the back edges, making sure to pull it evenly tight at each side as I glued it down.
5) Cut lengths of the wide striped ribbon to fie the edges/sides and running a thin line of hotglue tacked those down, mitering the corners so it looked nicer. Since it was striped it was pretty easy to keep it straight & even (though I didn't get it 100% on the top edge, but hey! that's how ya know it's handmade with lovvvve, heh.)
6) I ran a length of polka dotted fabric ribbon around the entire edge of the board in one piece, just putting a quick thin line of hotglue and keeping it stretched taut as I pulled it round. That's it!
Reattached my buttons and hung it back on the wall.
Happy fun project, that's ready to hang more inspiring bits upon -
Have a hophop Happy Easter tomorrow, friends!
XoX, gem


2 comments:
Very nice. I like the ribbon idea for showing off the buttons, simple but effective.
Cool idea!
Post a Comment